
Practice EHR is excited to share these enhancements included in the July 2022 release. These enhancements include a new workflow for patients to schedule their own appointments, increased features for templates, and the ability to reopen a signed note.
1. View visit templates outside of a clinical visit - Visit templates can now be categorized and the sections viewed outside of a clinical visit. This feature can be activated by reaching out to Support or Client Services teams.
From the setup module, under "Visit Templates," the user will see the following filter search options:
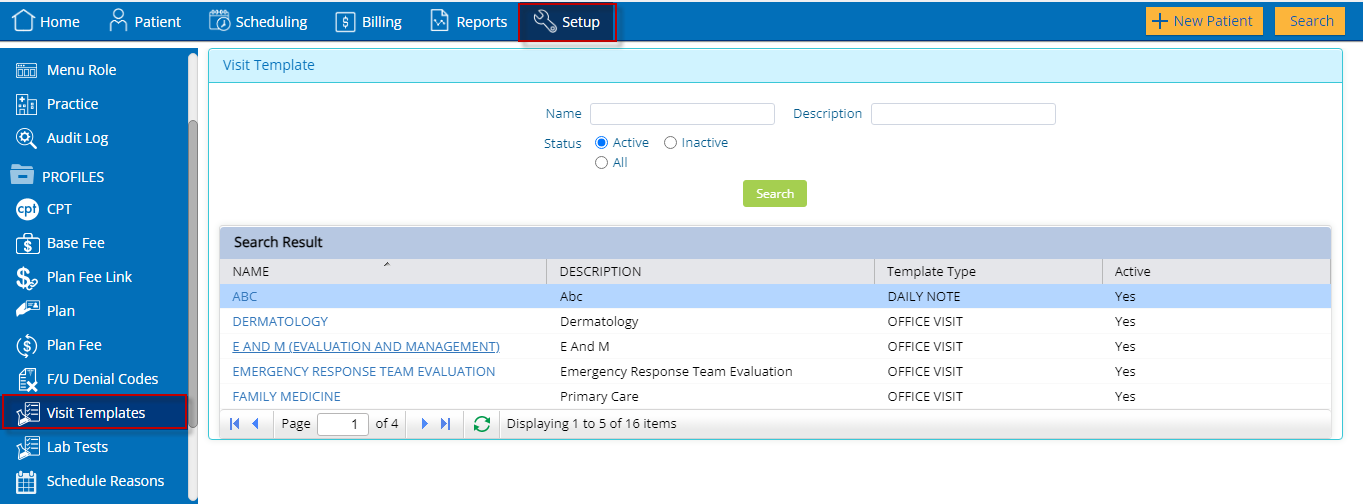
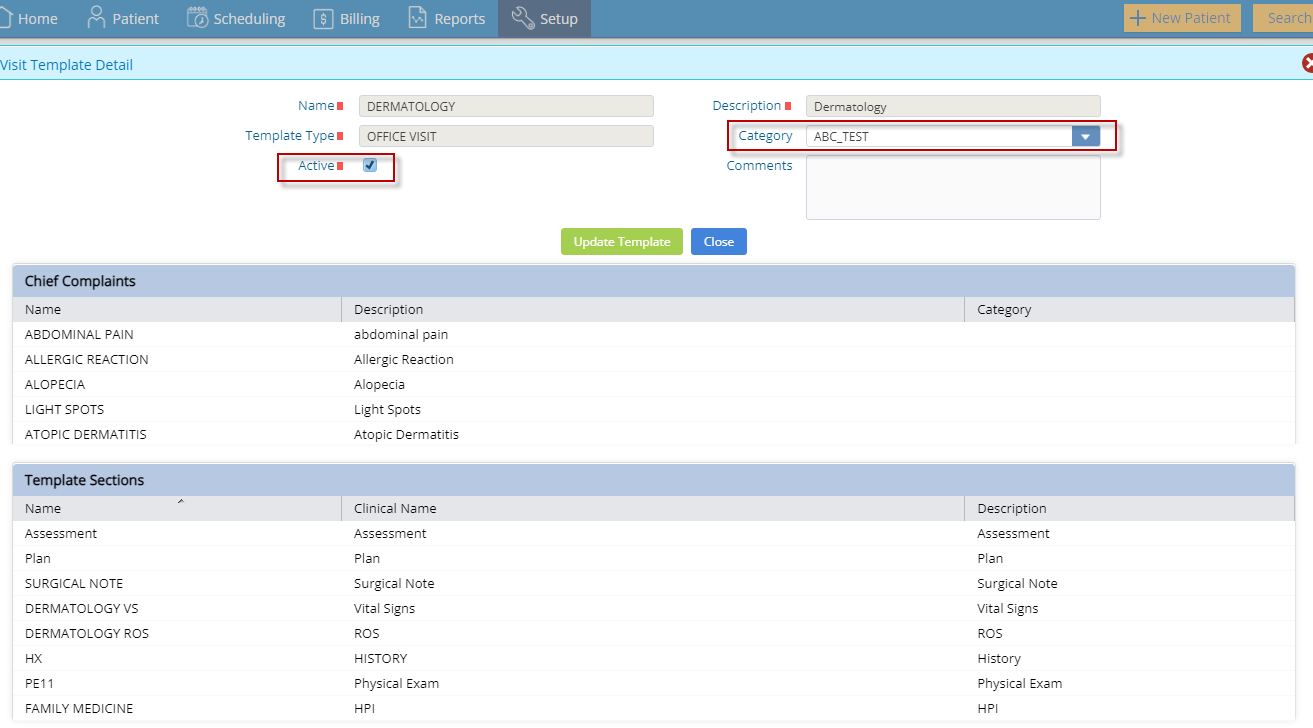
After the user clicks the search button, the template name, description, type, and status will display in a row. After clicking on the blue hyperlink, the template detail window will open and display the following fields:
Category drop down: The templates with the respective categories can be selected within the template in the start process window.
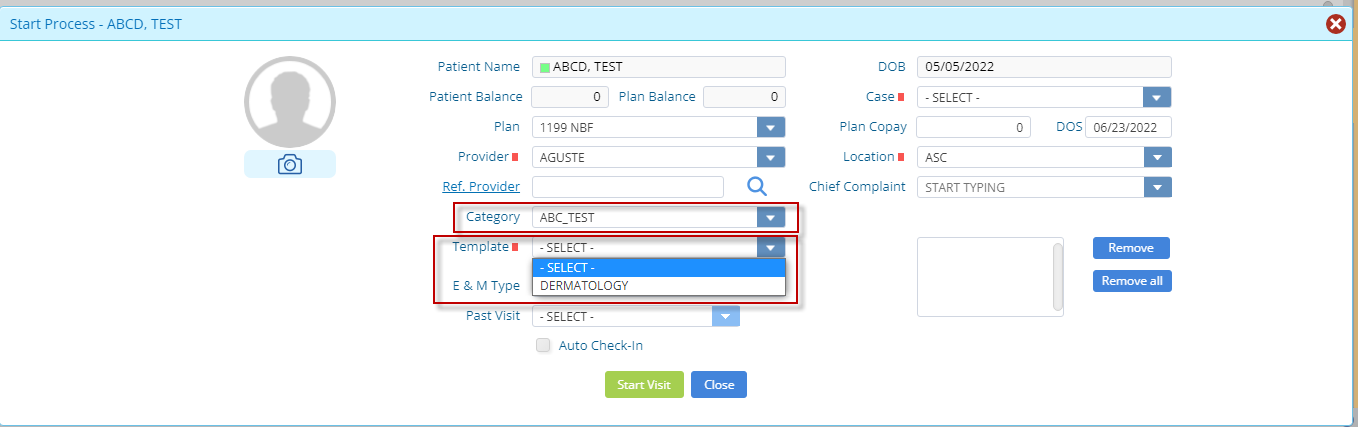
Start Visit Window: When the user selects a category from the category drop down, the system will display only the templates linked with the selected category. For example, a practice may choose to show only those templates associated with Wellness or Chronic Care conditions; some may only decide to see templates pertinent to the anatomical area being treated or those created for a specific provider. Categories are generated by the practice and are intended to improve the efficiency of finding the best template when the master list is lengthy
The Category drop down in the start visit window will only show when Practice EHR Support has added the feature.
2. Re-open a closed clinical note for the provider to make clinical changes - This can now be done from within the closed visit (like the addendum feature) and allows changes to be made within the individual section(s) and the entire note re-authenticated.
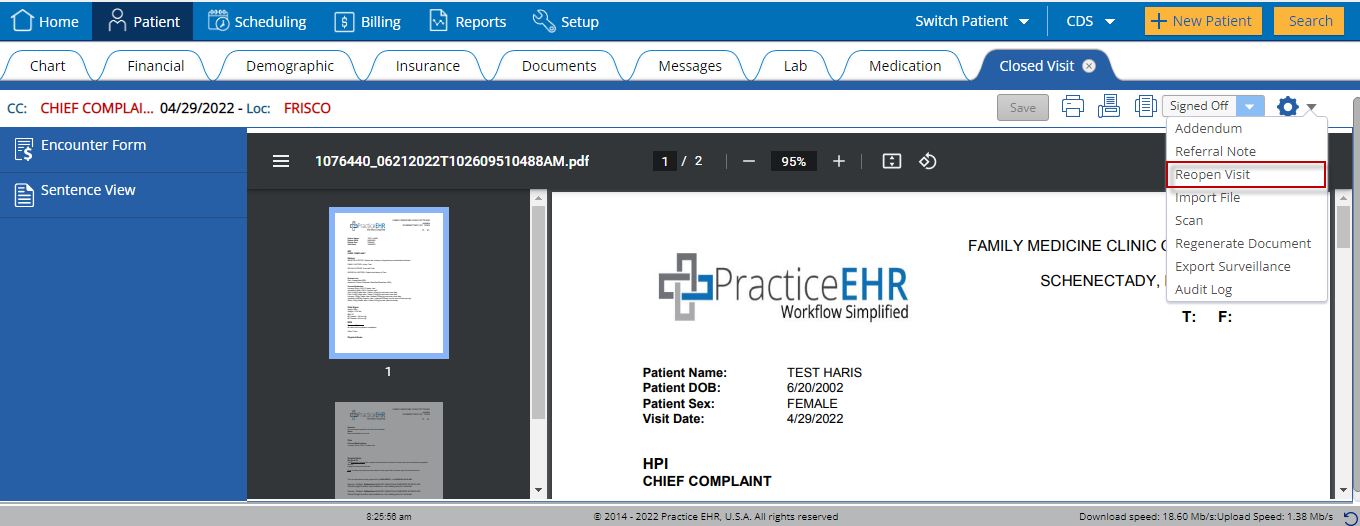
It is recommended that the practice have a documented policy/procedure to ensure that the final legal, medical record complies with all associated regulations. Within Practice EHR, there will be an audit log with the signoff history. If any specific version of the note is needed, it can be accessed from the hyperlink for that Visit Signoff Date.
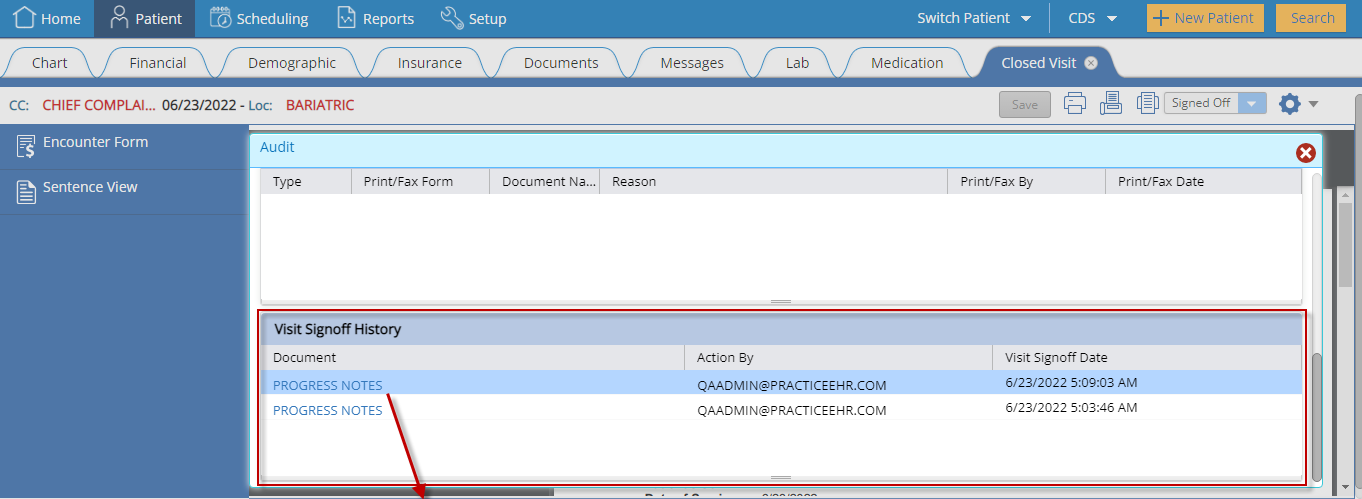
NOTE: The modified progress notes will be updated in the patient's document tab. The user will be responsible for reviewing the Entered By and Entered Date to ensure that the most recent version is selected when sending records outside of the practice.

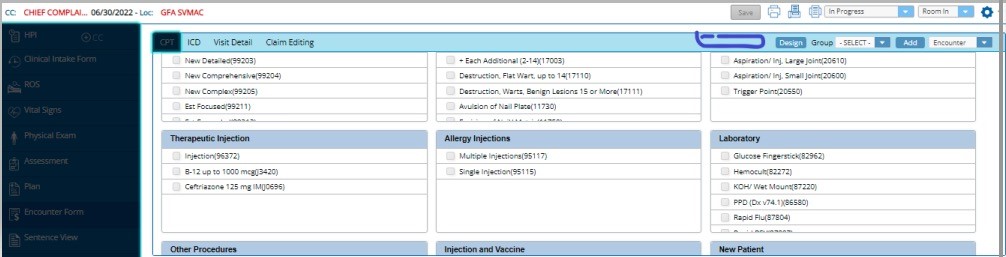
3. Customize encounter forms by insurance plan - Linking encounters with an insurance plan will allow the practice to display codes that may be unique to that individual payor. For practices with occupational medicine, the encounter can be designed to include only those services covered by that business and/or employer, reducing the risk of sending the wrong services to the wrong payor. This can also be used for cash services.
Clients can provide the CPT/ICD codes to link with an individual plan by submitting a Support Ticket. When the visit is associated with a plan-specific encounter, the option to select a specific encounter will be hidden.
4. Patient Advance Payment collection option for a specific condition or procedure through case management.
There is no change for the Patient’s Advance Payment collection via the patient demographics window.
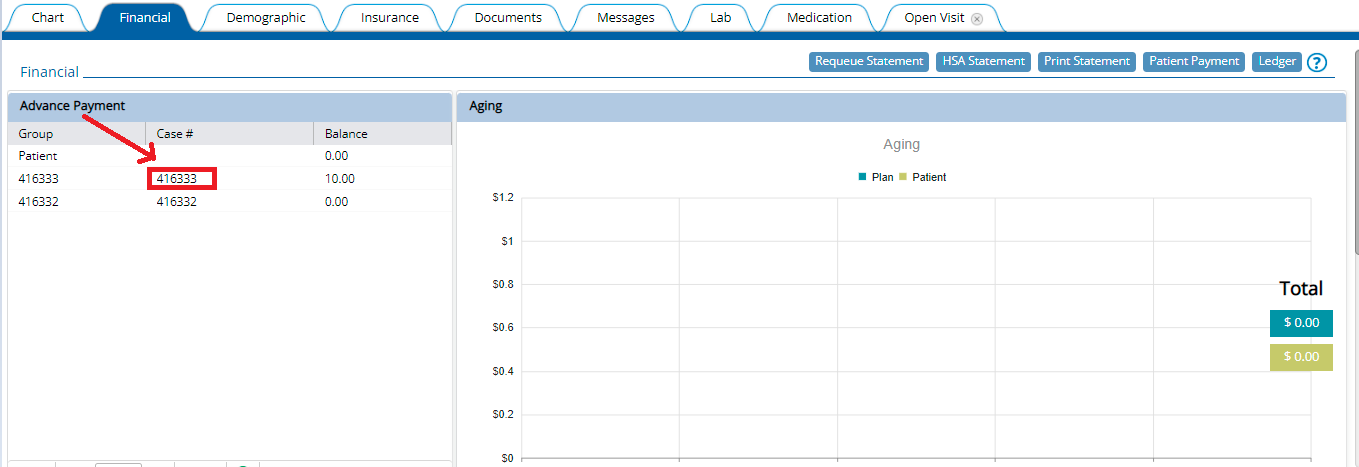
Advance Payment details added in the financial tab will display all the advance payment groups linked with any cases. If no case is linked, a default “Patient” group will be displayed along with payment details.
Any case prepaid through case management allows for grouping the patient’s advance payments for a particular condition or procedure. Also, patients/cases can be linked in the case prepaid window as a child, and advance payment will be applied from the parent case on all visits associated with the child case.
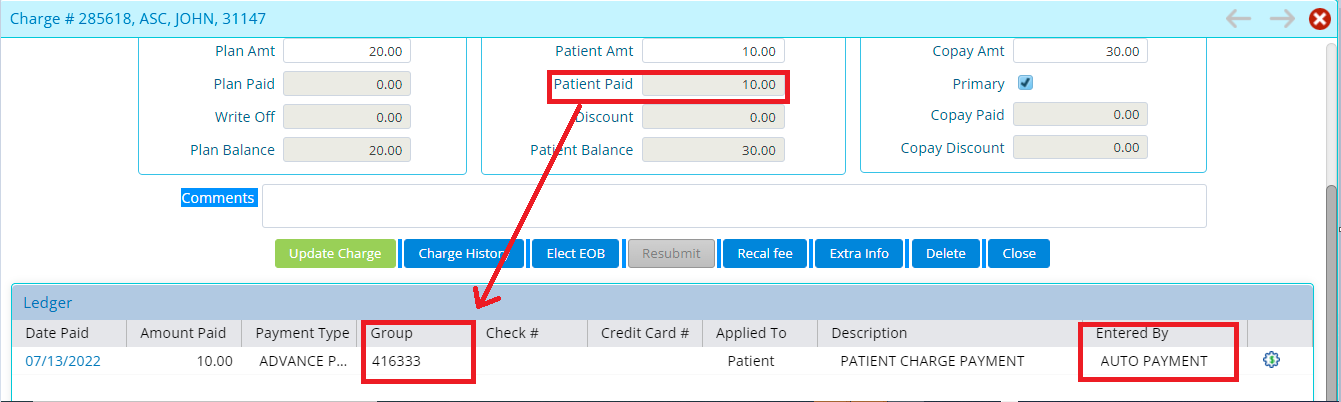
Upon collection of advance payment w.r.t a particular case, the “Advance Payment Group” will be automatically created with the reference of the case # in the Advance Payment section under the Financial tab.
Case Payment (New Workflow)
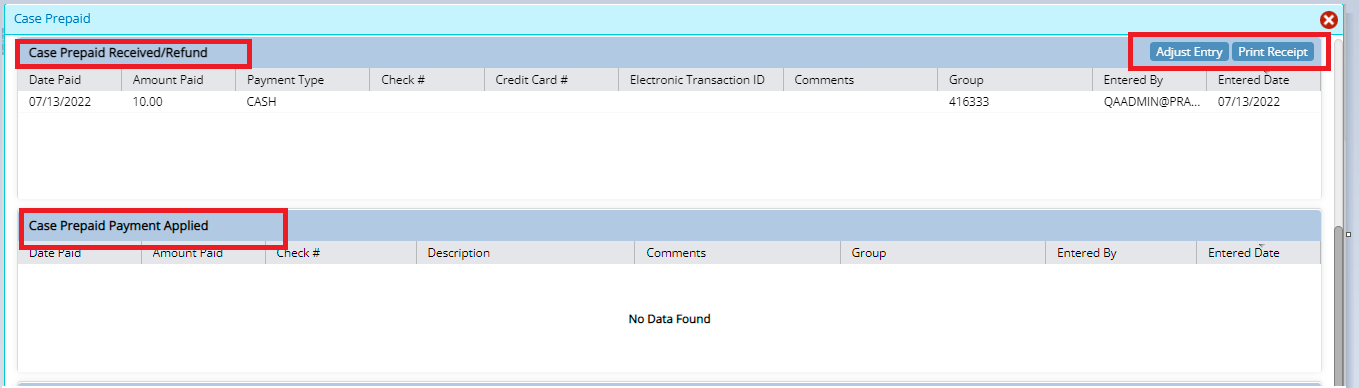
A case prepaid option has been added under case management, allowing the practice to collect advance payments against a particular case or for specific CPT codes within that case. CPT codes can be added or removed within the case prepaid window.


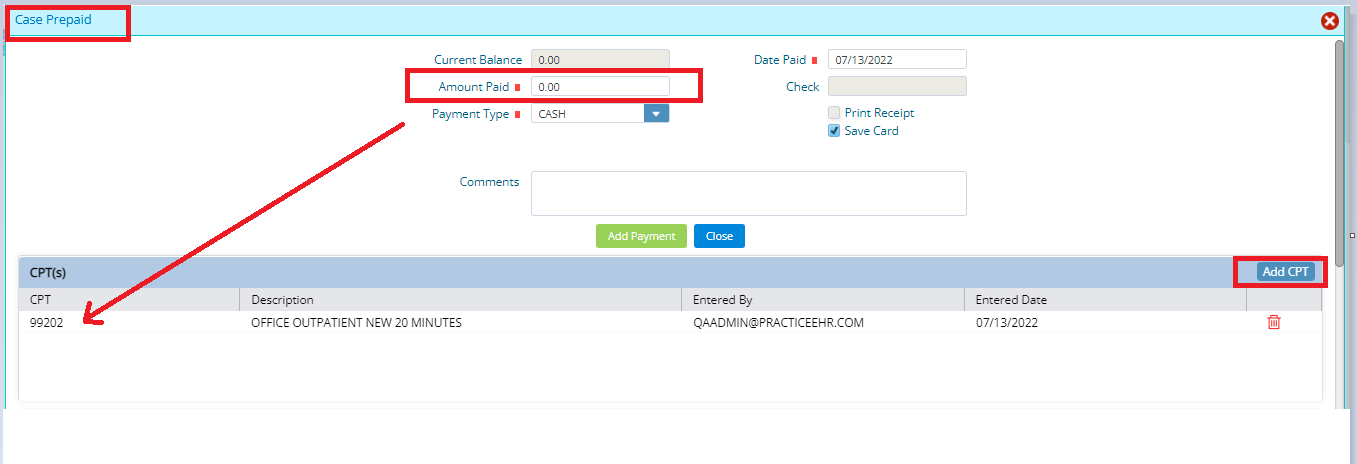
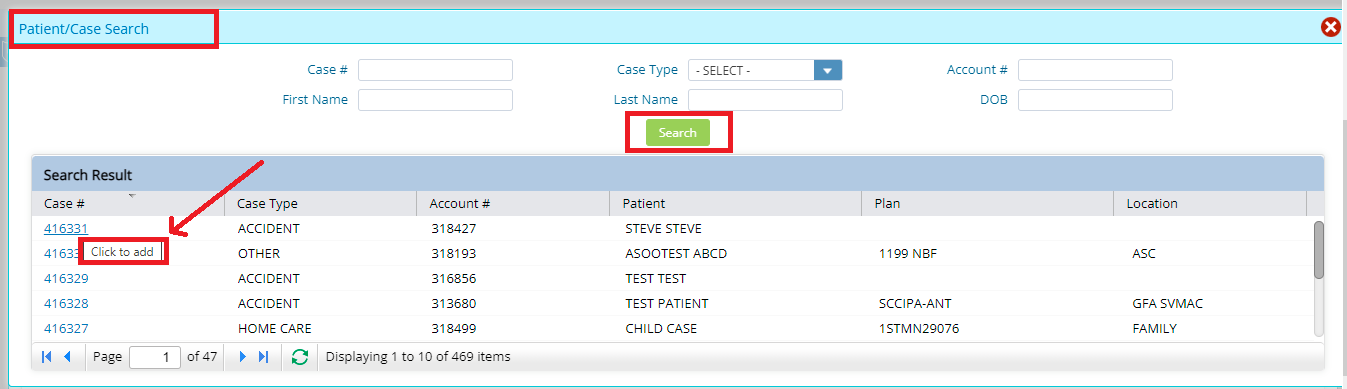
Case payment received, refund, applied, and linked cases details are available in the case payment detail window. The link patient/case option will allow linking the advance payments with another case/patient. Only active cases will be allowed to link with a case, and already linked patient/cases cannot be linked with more than one group.

Case advance payment will automatically apply to patient balance upon creation of a financial visit or already billed visits associated with that particular case which has advance payment collected or collected for particular CPT codes selected in the case payment window.
5. New patient registration and appointment scheduling workflow through the patient portal.
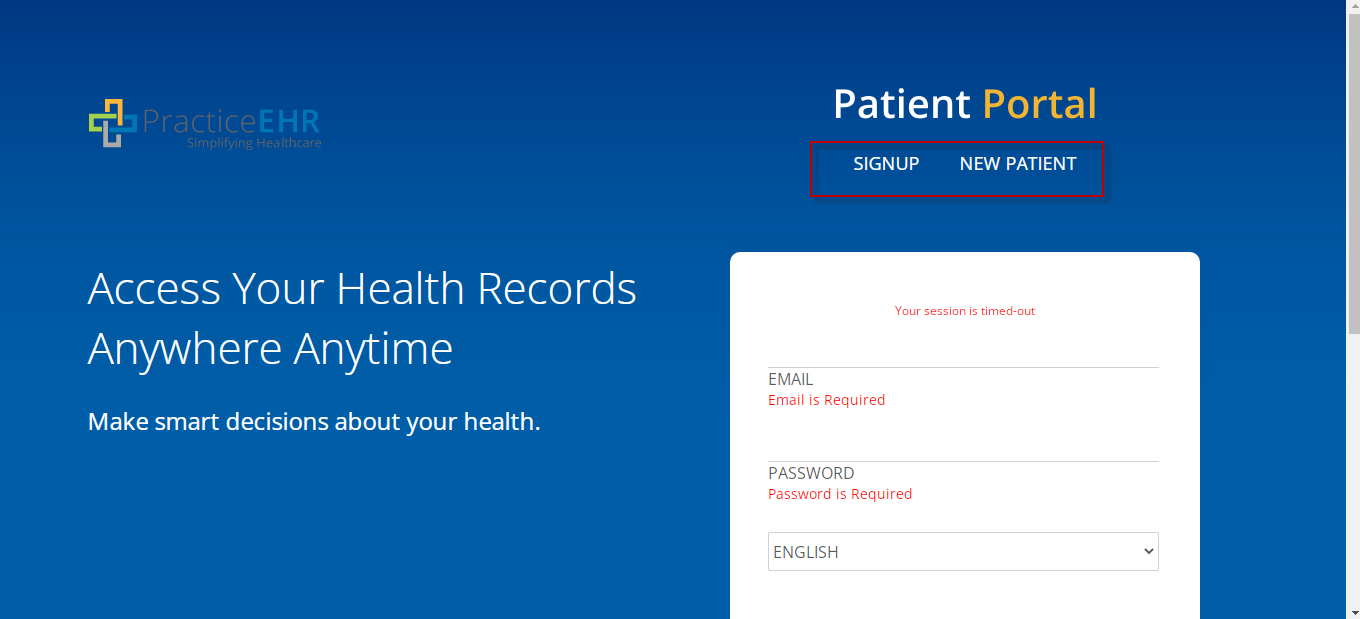
The existing patient portal offers two options for registering the patient on the patient portal:
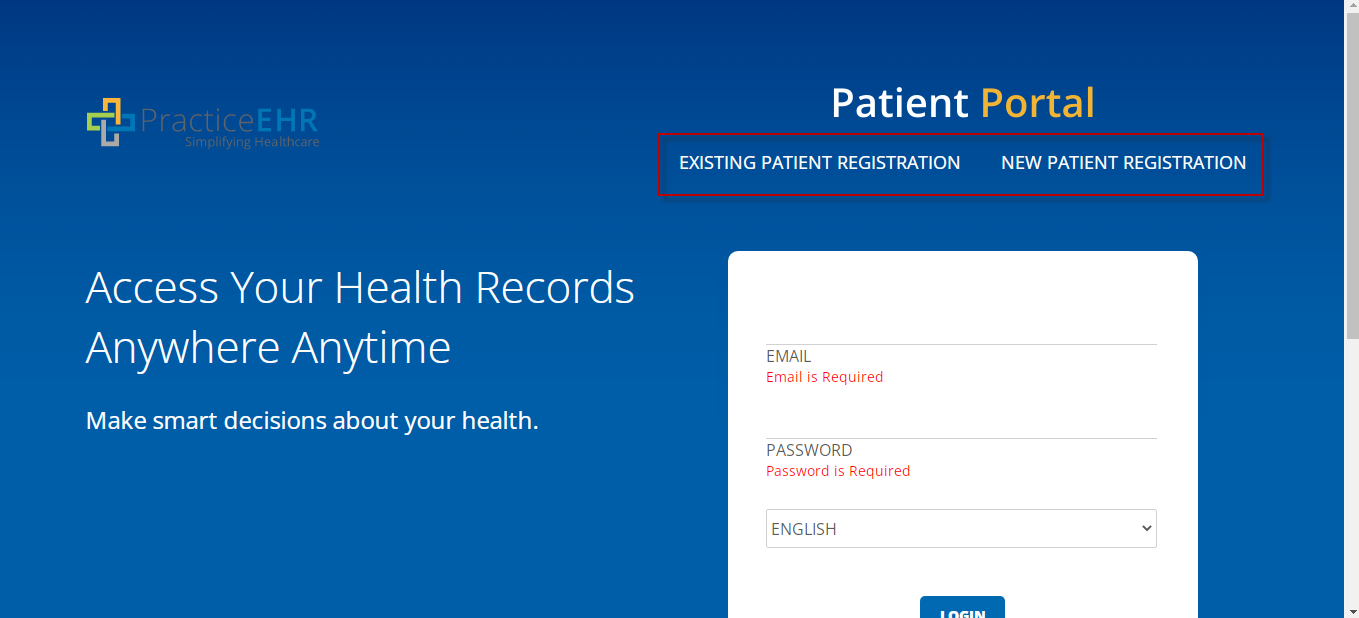
With this enhancement, another option can be added for each practice by our Support or Client Services teams. This will provide the practice with the option to allow their patients to register themselves via the patient portal in Practice EHR without approval via messages. The registration screen will display two options:
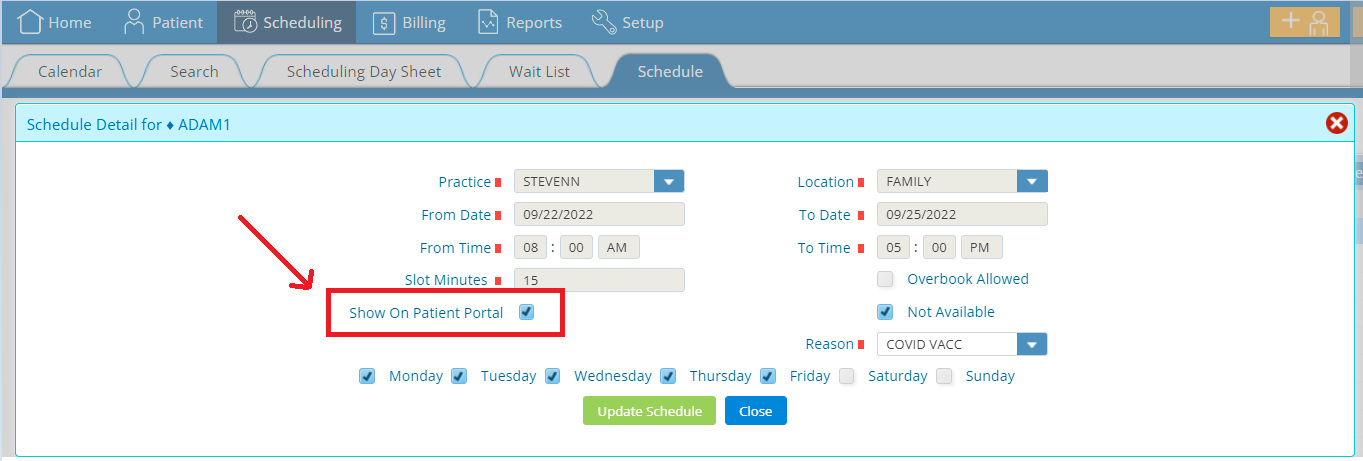
During the setup, the practice can now decide how to schedule appointments through the patient portal. With the existing setup, patients may continue to request an appointment and be placed on the practice’s waitlist. The new option allows patients to schedule an appointment directly on the practice calendar.
Waitlist (existing workflow):
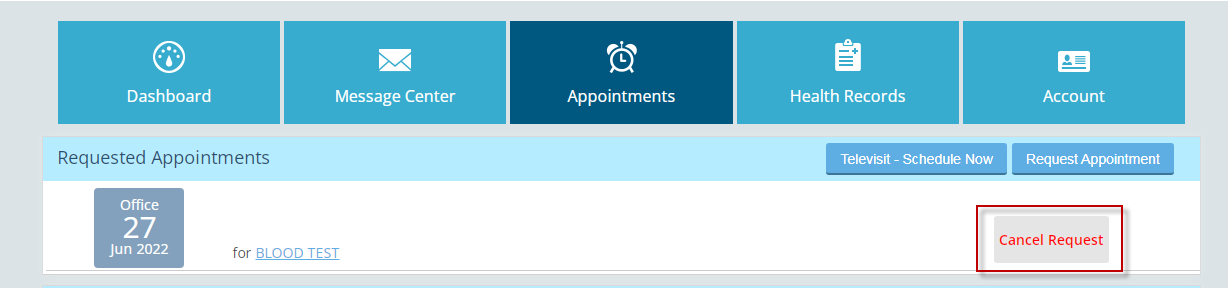
When the practice chooses the Waitlist workflow, the appointment tab button will say "Request Appointment.”
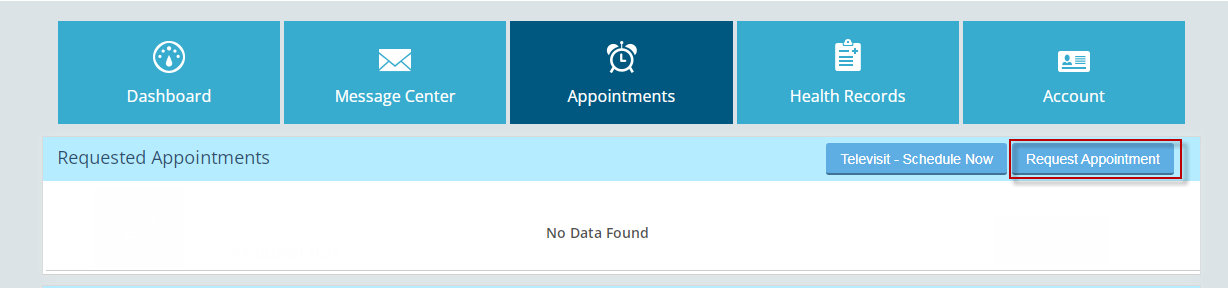
When the patient clicks "Request Appointment," and the following window will open with these fields:
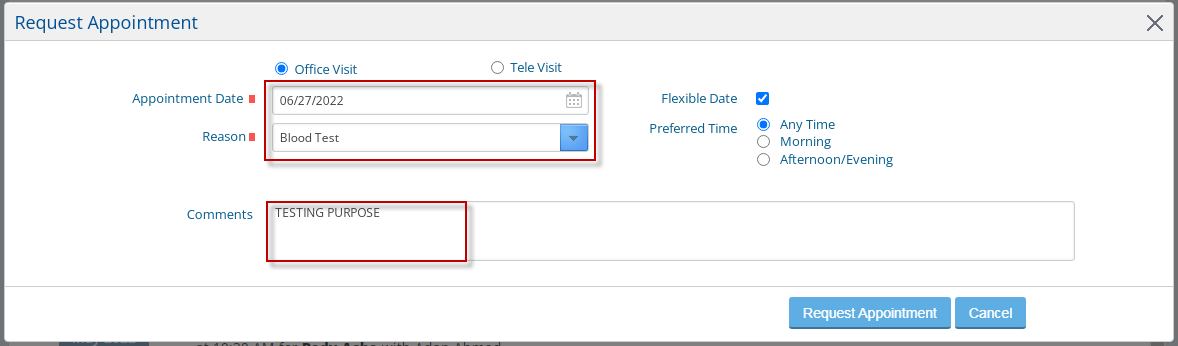
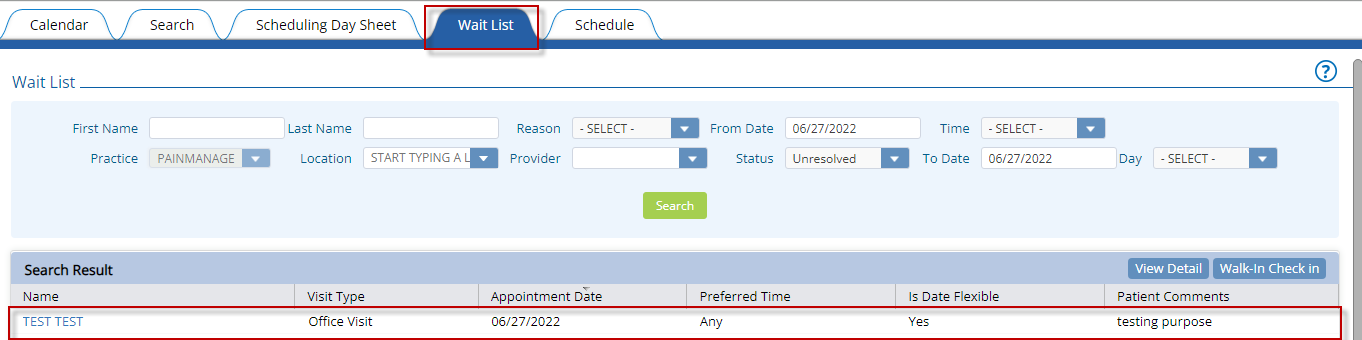
Once the user clicks on "Request Appointment," the appointment will move to the Practice EHR Waitlist under the scheduling tab.
The patient can cancel the request by selecting "Cancel Request," and the existing cancel request flow will run.
Schedule Appointment (New Workflow):
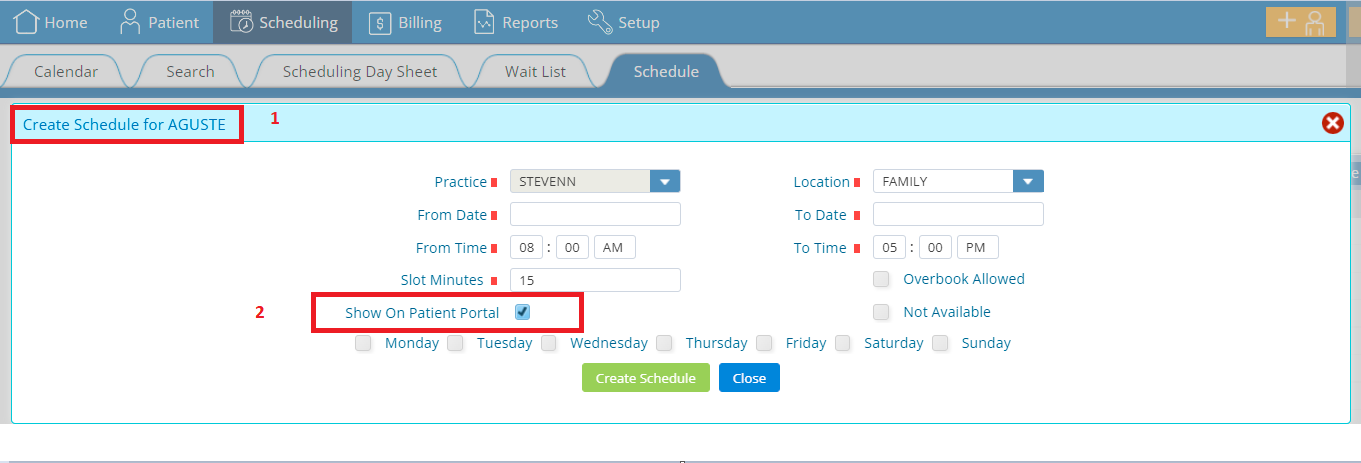
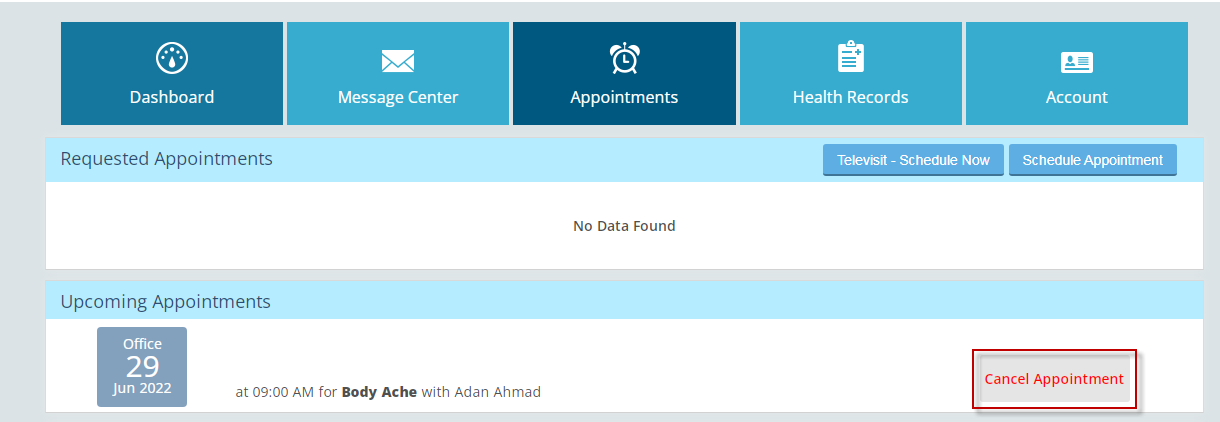
When the practice chooses to allow patients to schedule appointments directly on the practice calendar, the button on the appointment tab will say “Schedule Appointment.”
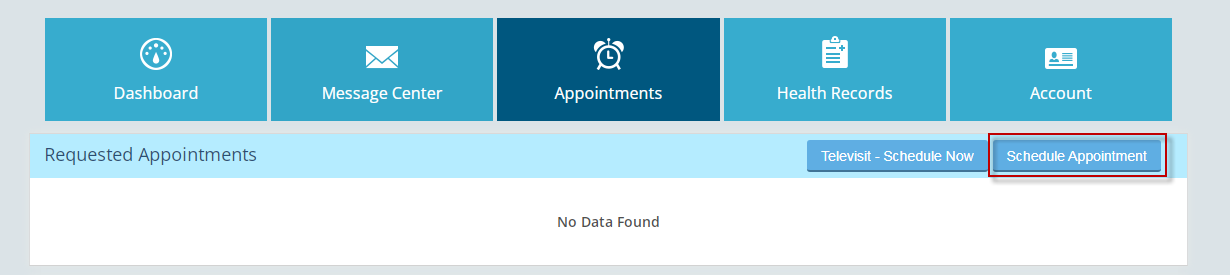
When the user clicks on “Schedule Appointment,” the window will open with the following options;
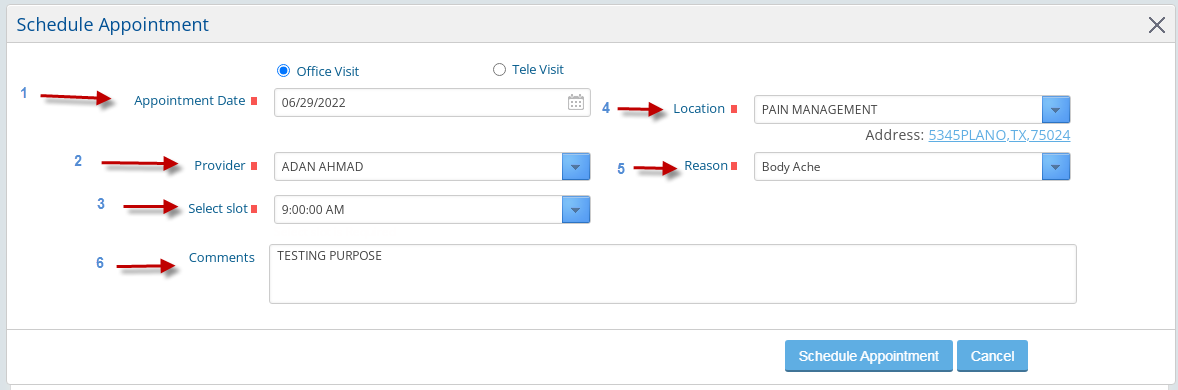
No dropdown will appear if only a single location is available for schedule after following the mentioned criteria, and that same location will be set as default.
No dropdown will appear if a single provider/resource is available for schedule after following the mentioned criteria, and the same provider/resource will be set as default.


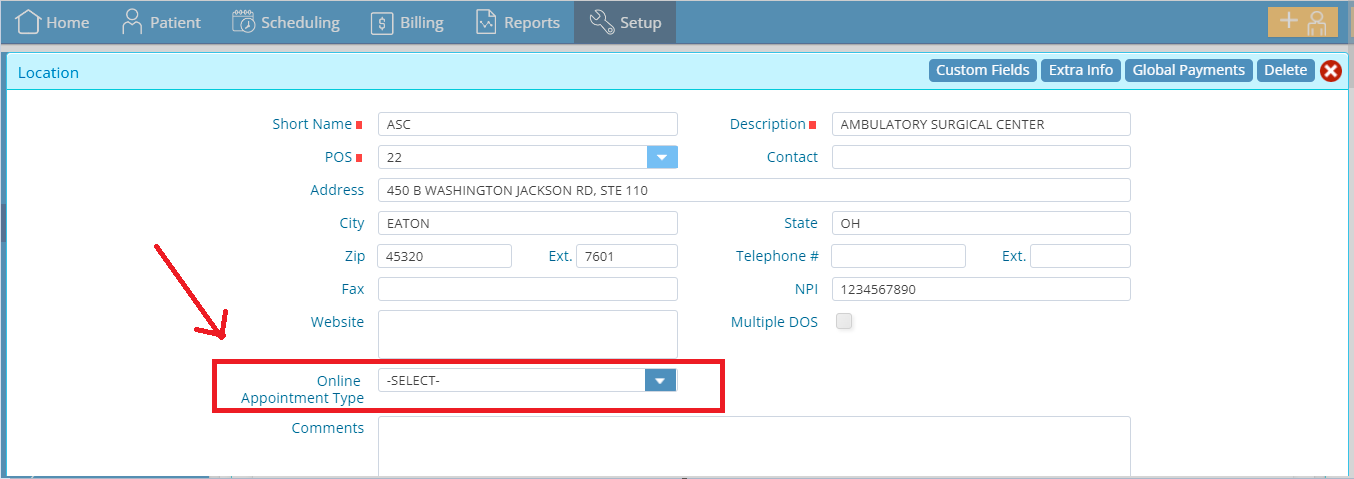
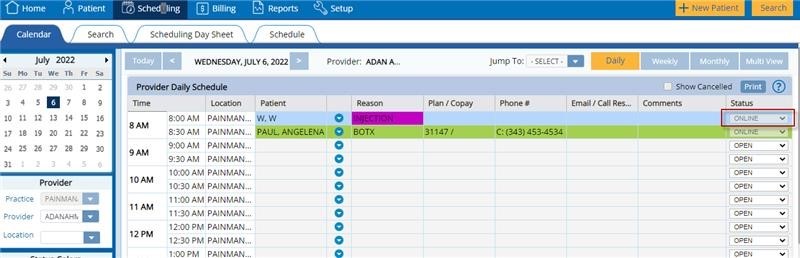
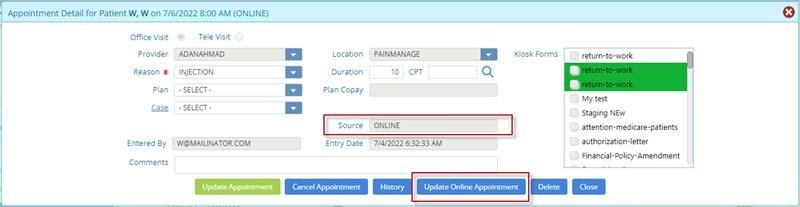
The Appointment Detail window and the primary calendar will identify the appointment type as “Online.” The practice can select forms from the Appointment Detail window and click update online appointment, which converts the appointment status to scheduled. Patients will receive the forms through a web kiosk link on their email once the practice schedules the appointment.
The patient can cancel the appointment in this workflow by selecting “Cancel Appointment.”
When the patient clicks the “Cancel Appointment” button, a new window will open, giving the patient a required text box that prompts the user to provide a “Reason” for canceling the appointment
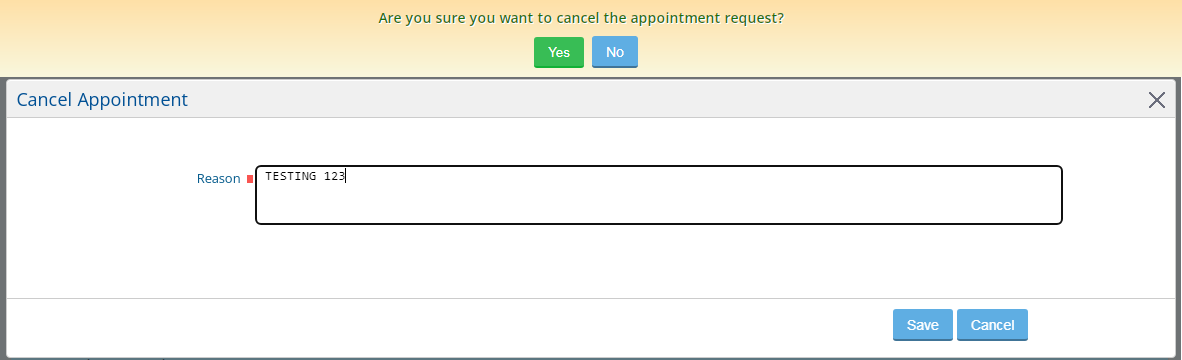
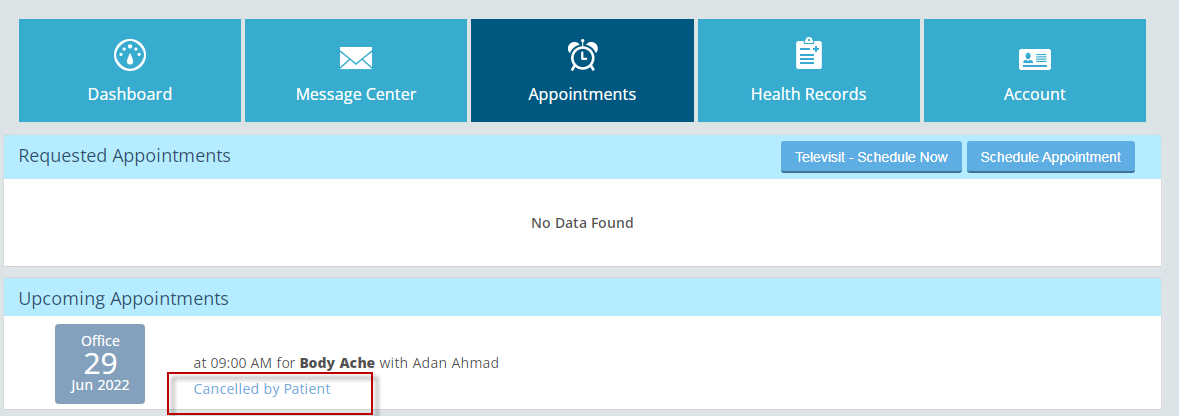
If the patient saves this entry, the status will change to “Cancelled by Patient.” and the cancellation reason will be set to what the patient entered.
The following cancellation notification will be shared with the user: “Your appointment has been successfully canceled.”
6. Allow patients to send new message types, medication requests and update demographics in real-time through the Patient Portal.
Message Center:
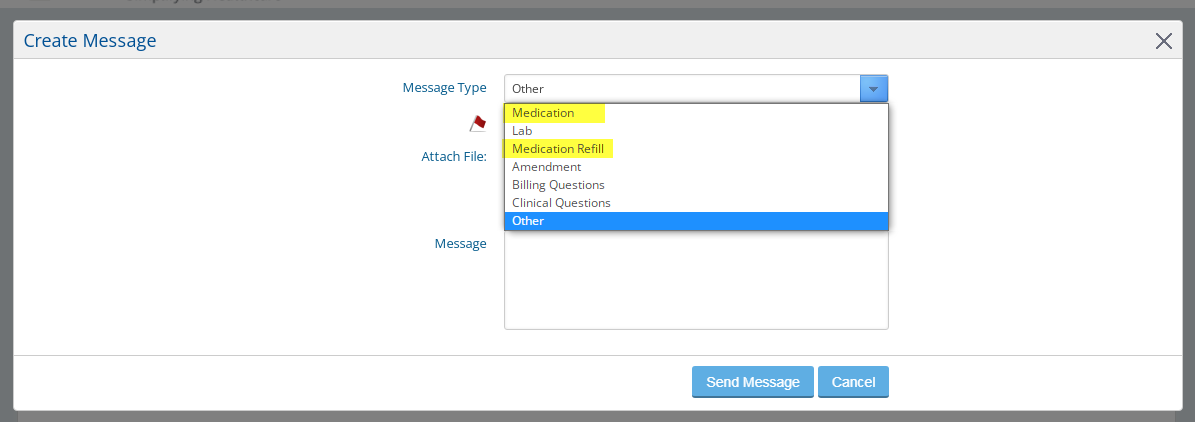
The following new message options have been added in the message type drop down:
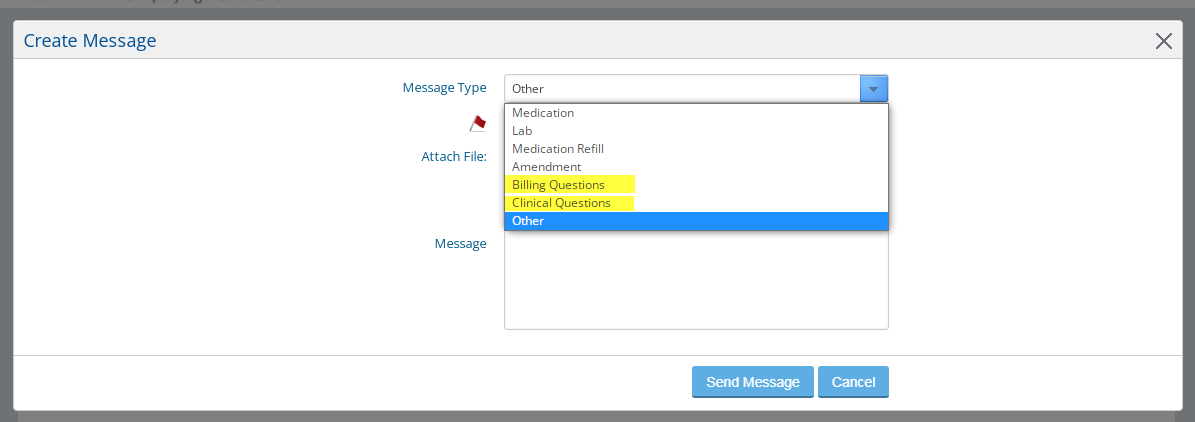
Message type “Medication” has been separated into “new” and “refill” options.
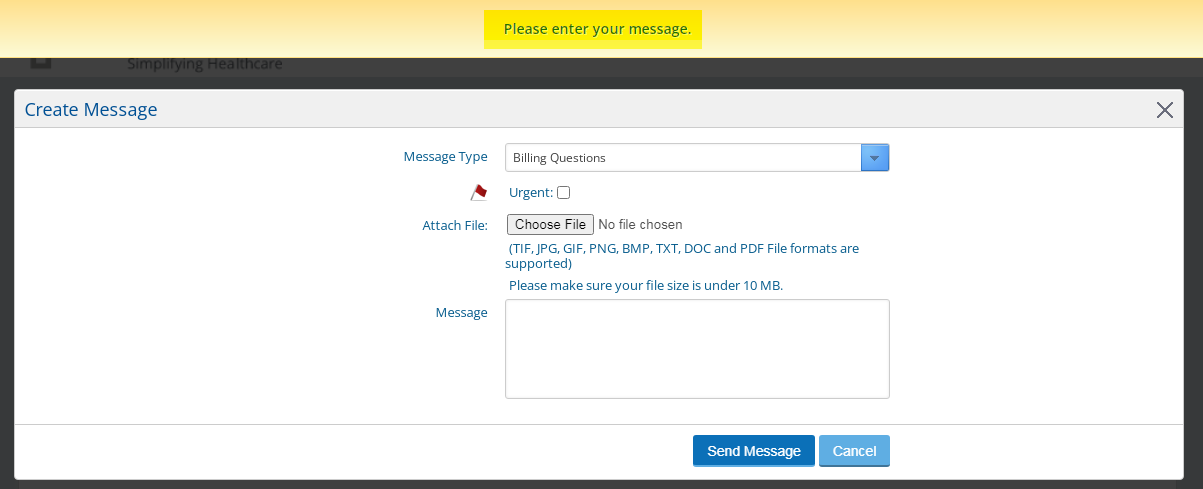
When sending a message without entering anything in the Message field, the system error message “Please enter some explanatory message text.” has been changed to “Please enter your message.”
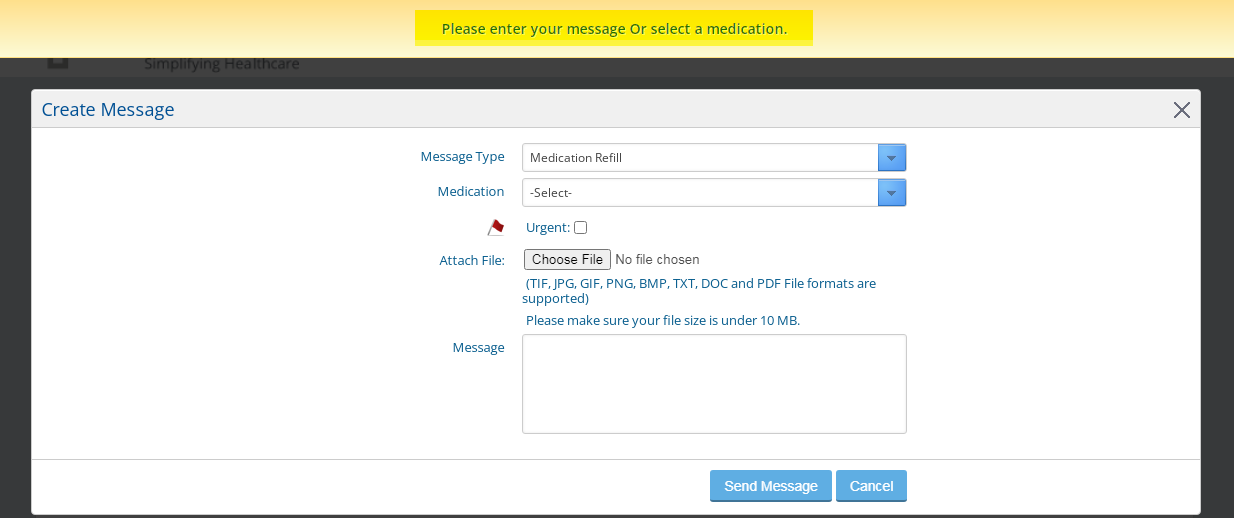
Also, when leaving the message field empty for medication and medication refill, it will not be mandatory for the patient to enter text in the message box.
Suppose the patient selects the message type “medication or medication refill” and does not select the medication. In that case, the following system error message will now appear: “Please enter your message or select a medication.” This has been changed from: “Please enter some explanatory message text.”
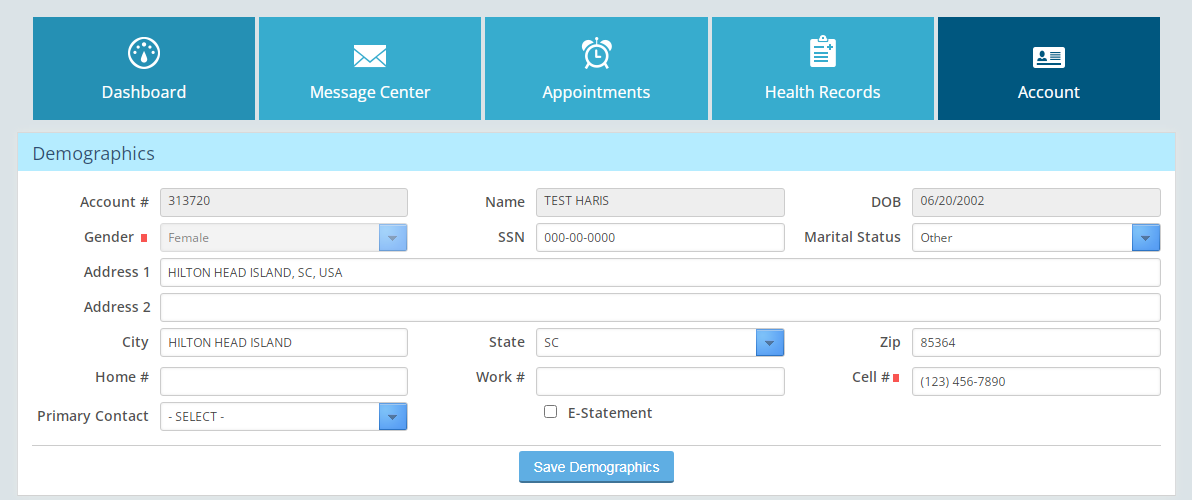
Account:
This enhancement will allow the patient to update their demographics in real-time from the patient portal except the following fields:
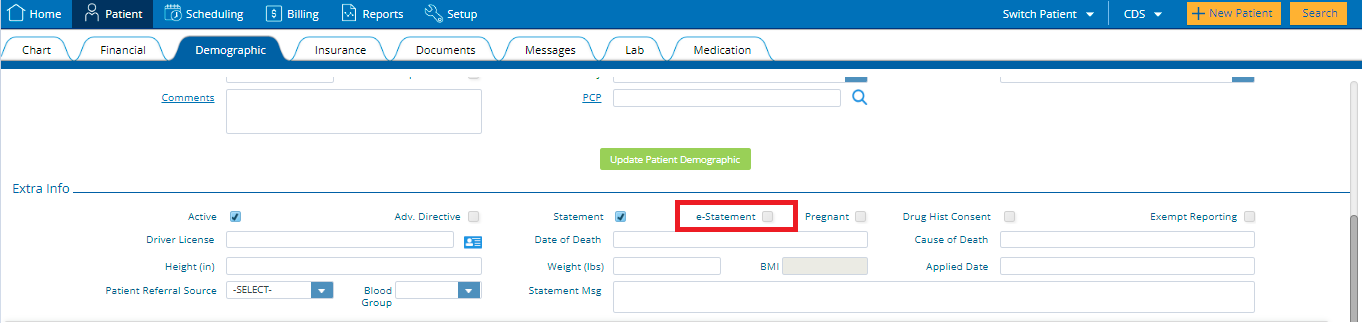
7. New updates and workflow for e-Statements.
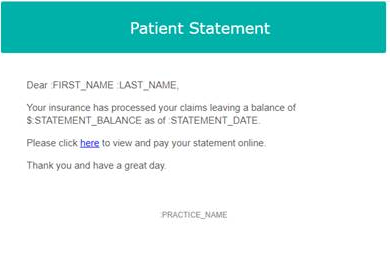
Patients will now receive the statements via email/texts to view and pay online, which will be sent via email/Cell# entered in patient demographics, details are mentioned below;
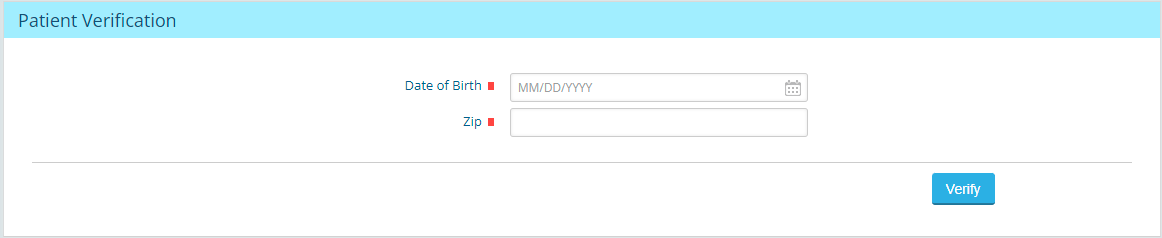
The patient's verification window will appear when the patient clicks on the hyperlink in the email/text and will then be prompted to provide their date of birth and zip code registered in Practice EHR to click verify. Patients will then see the current statement and choose any previous statement from the dropdown.
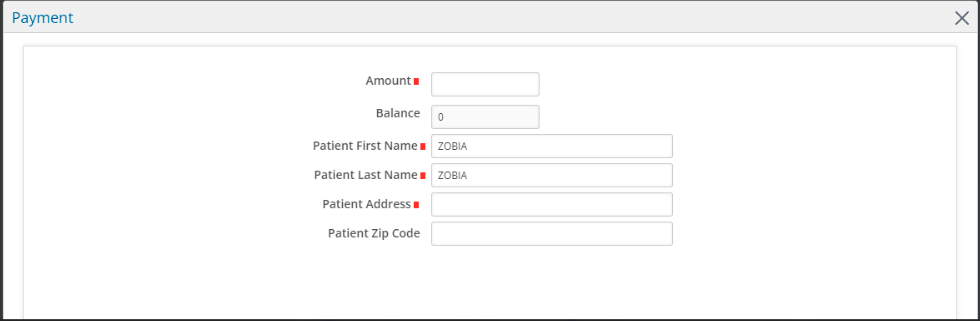
The patients can pay via ‘’Pay Online’’ option available on the statement window and payment data can be entered in the mandatory fields, Practice, however, should be configured to receive patient payments online; otherwise, the system will prompt the user with the message "Online payment option is not available, please call doctor office"


![]()
![]()


